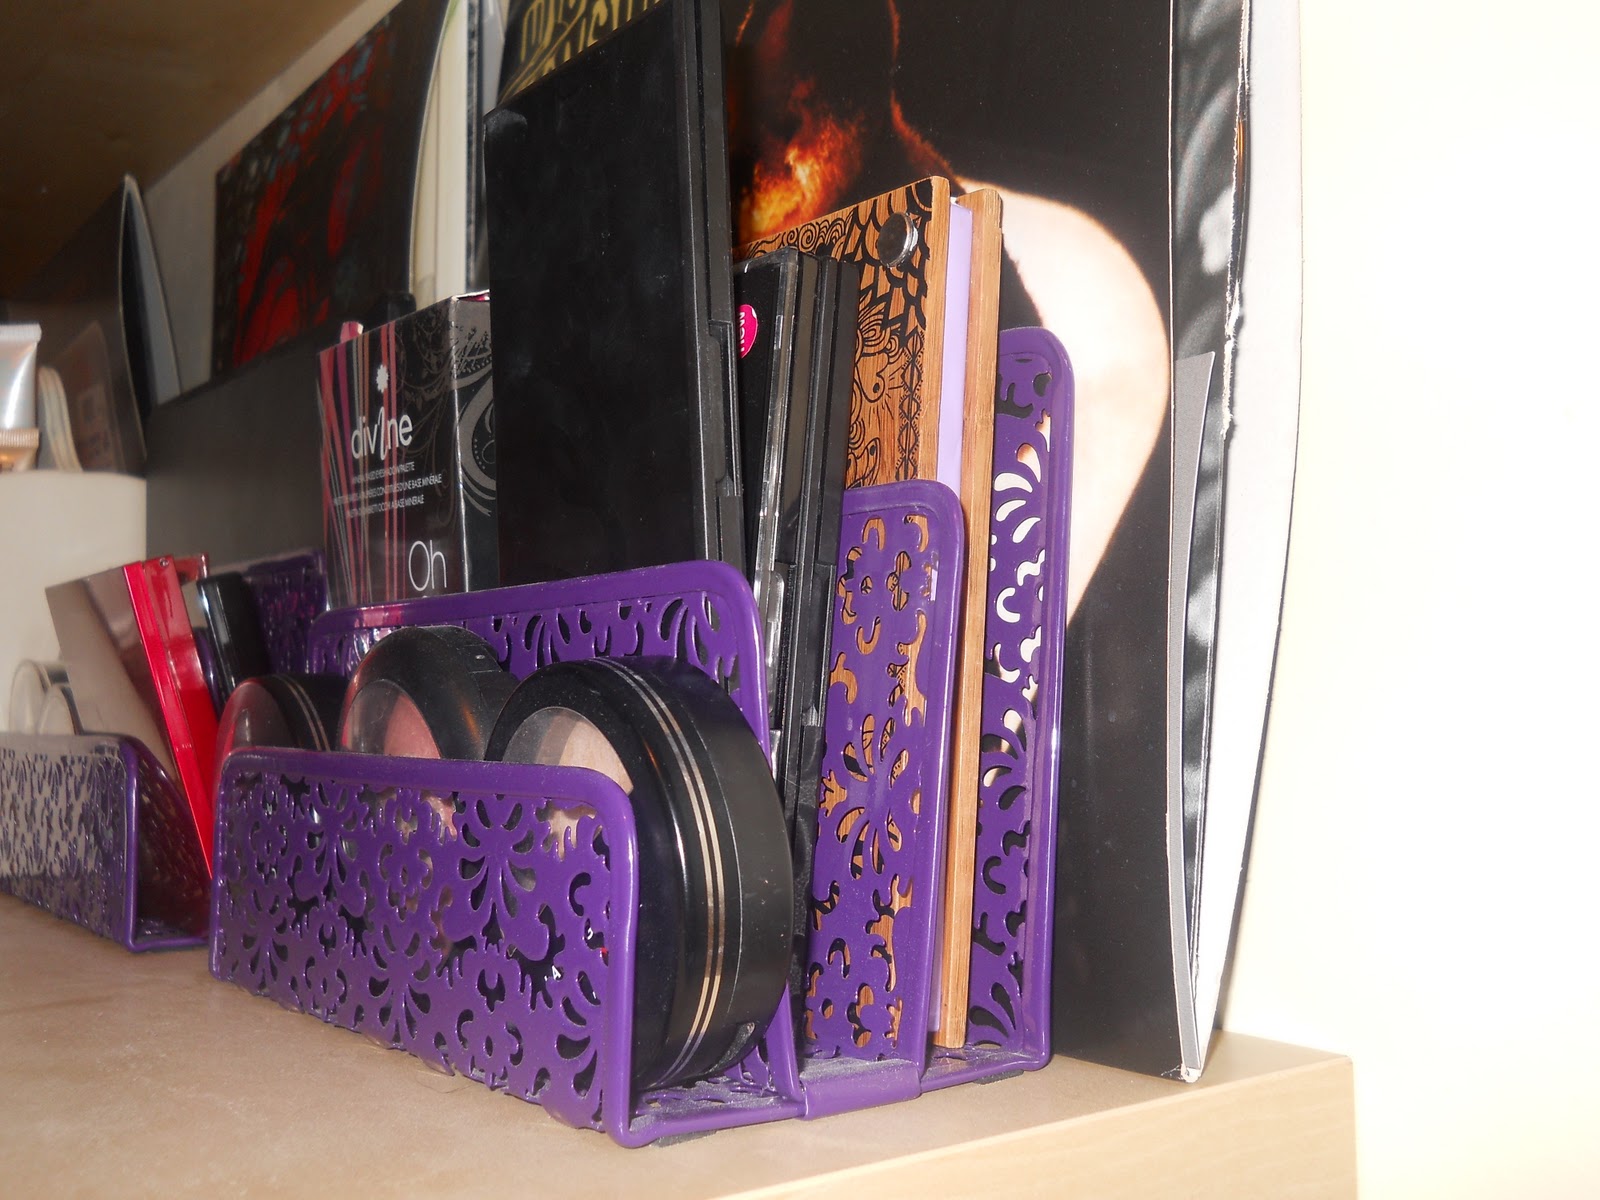
My cosmetic collection has grown quite substantially since last year and i have been battling to keep everything organised. I started researching ideas on how to keep everything neat and tidy.
Here are a few inspirations and ideas that i have introduced into my space.
Here is a simple idea on how to keep your brushes neat and easy to access.
 |
| My Inspiration - Image from Google |
Take a plain
jar or small vase and stick your brushes in. I added beads to help the brushes to stand up straight. Beads also soften the jar and adds elegance.
You can sort your brushes by category. Eyeshadow brushes, blush & powder bushes and even foundation brushes. I don't have such a huge collection of brushes so I just put them all into one vase/jar that was lying around the house.
You can find affordable vases at Sheet Street and Mr Price home.
Mascara & Eye pencils:
 |
| My attempt |
I used the jar/vase idea to store my mascara and eye pencils. I found an
old stationary/pencil holder lying around the house. I cleaned it out and stood them upright in it.
I only store the ones that I use often because it was quite small. You can buy proper metal pencil holders at
GAME from R9.95, which can fit a lot more.
Metal containers can be spray painted to a different colour to match with the rest of your room's decor.
Eye-shadows
Here is a very cute idea for storing eyeshadows. Use an old
plastic cookie/biscuit holder to stand your eyeshadows on their side. This maximises your space because you don't have them lying around in a huge basket or bag.
For now, I keep all mine in a cosmetic bag. Will give you an update once I incorporate this into my makeup organisation.
Nail Polishes:
Being a nail fanatic, I have tons of different nail polishes. I have been going crazy because most of the time they just pile up in a basket and when I try to find a specific colour I end up unpacking the whole
darn thing.
I had to get some way to organise my polishes so that I can access them easily but still
take up as little space as possible.
I googled some ideas like the one on the right and
hit my very own Epiphany...
...any lady that has a
Glambox or Glossybox can have the perfect way to store their nail polishes!
 |
| My attempt: Glambox! |
It is the perfect height and size making it easy to find the polish you're searching for and fit quite a few in one box. (You can also use the lid of the box)
You aren't limited to just one. You can arrange your polishes by size, height, colour and even brand!
Ideas that I am dying to try out.
Magnet Makeup Board - I think this is a genius idea for storing makeup. It allows for clean surfaces and adds dimension and decor to your room.
Follow
this link to
Laura Thoughts. She came up with the beautiful board on the left and she shows a step by step process on how to get a magnet board just like hers.
I think it would also be a great idea to get a bigger board and put a mirror in the centre with the cosmetics surrounding it. Call it an
all-in-one-makeup-station :)
Its great ideas like this that got me inspired to get my cosmetics organised.
Palette Organiser - If you have eyeshadow palette's, a letter/envelope sorter is perfect to store them.
You can sort them by size or palette colours making it really easy to find what you're looking for.
You can find these letter/envelope sorters at most stationary stores. If they come in bland colours you can always spray paint them to match the rest of your room's decor.
Another great thing you can find at a stationary shop that is great for organising cosmetics is a
desktop stationary organiser.
I really find this idea helpful but might become a problem if your cosmetic collection is a big larger than what it can hold. Can be great to store products you use on a daily basis.
One last idea that I am definitely investing in sometime soon, is a
stationary tower like the on on the right.
I have been searching for prices and you can find a really nice one at
GAME for R94.95. They come in different colours and have many drawers to store your cosmetics. (Not suitable for nail polishes though)
Thank you for reading this post. I hope some of these ideas inspired you to organise your makeup and other cosmetics. If you have some ideas not mentioned above then please tweet them to me on
twitter. You can also post photo's on my
Facebook page, of ideas that you have tried and might inspire other readers.
Miss Claira-Bella
Xoxo
Dont really have things lying around the house to use as cosmetic storage? Dis-chem has acrylic storage containers :)